Difference between revisions of "Pop1"
| Line 46: | Line 46: | ||
#<li value=5>Open the Scripting Portal using the button '''S On/Off'''. It contains the following script: | #<li value=5>Open the Scripting Portal using the button '''S On/Off'''. It contains the following script: | ||
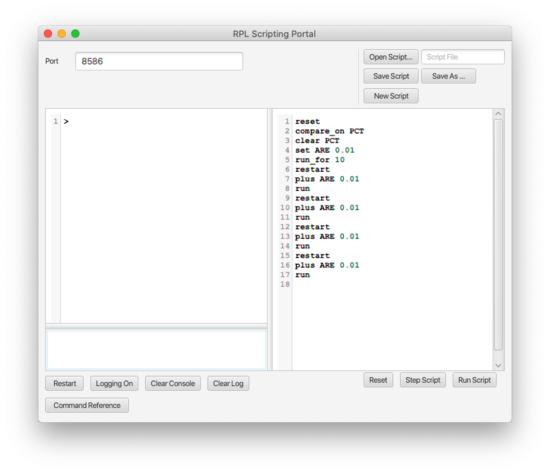
[[File: script1.png|Thumb| | [[File: script1.png|Thumb|550px|center|Fig 5. Scripting Portal]] | ||
Revision as of 21:10, 20 February 2022
This very simple Ramp introduces the advanced features.
Obtaining Pop1
- Download the file Pop1.xml from here.
- Launch Numerus Studio and select the File | Open Ramp(s)...; navigate to the folder containing Pop.xml and select it.
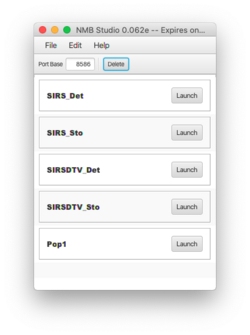
- When you are done Pop1 should appear on the Numerus Studio dashboard. (Fig. 1)
"Discovering" Pop1
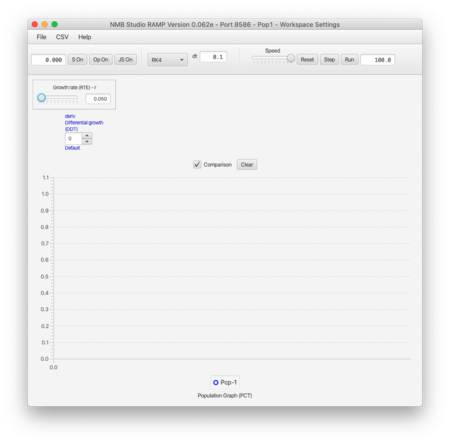
- Launch Pop1, resulting in the application shown here:
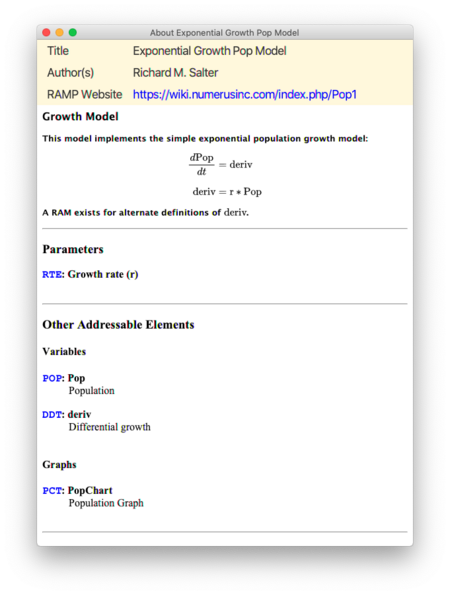
- Open Help | About This Ramp... to learn about the model and its structure, as shown here:
- The document provides a description of the model and its salient parameters, variables, etc.; use this to familiarize yourself with the model. A link appearing in the title section will lead to more in-depth documentation.
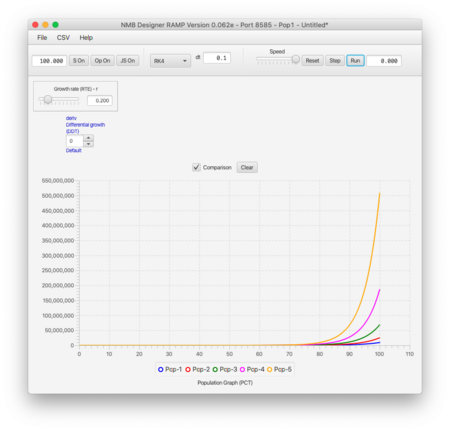
- You now have an opportunity to test what you learn from the documentation by possibly running the simulation several times with different parameter values.
Discovering RAMs
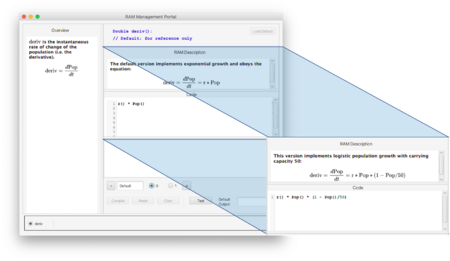
The documentation points out that a RAM exists for overriding the default definition of deriv.
- Visit the RAM page either by double-clicking on the blue text of the RAM entry, or by clicking the Op On/Off button.
The RAM portal gives a general description of the model variable and shows and describes each of 2 alternatives. The first (default) implements exponential and the second logistic growth. Both use parameter r as growth rate; the second has a fixed carrying capacity of 50. It is apparent that the code used to implement these two models closely follow the equations; note, however, that each element appears as a function of 0 arguments. This is the standard approach used for coding in the Numerus Designer.
A definition in red indicates that the code has not yet been compiled; i.e., translated into runnable form. The default RAM is compiled when the Ramp is launched. Clicking the compile button performs this translation on override RAMs, following which the new version of the model is ready for use. Compilation of RAMs is generally handled automatically when you first click the Reset button before running the model with a RAM other than the default.
You may add your own RAM to the set by clicking on the + button. As a point of departure you can insert the default definition by clicking the Default button. You should make sure that your code compiles before attempting to use it. You can also test the RAM directly with the Test button, and compare its result with a test of the default RAM and any other defined RAM. A keyword entered here will appear on the RAM dashboard to remind you of the change in the model brought about by the RAM. You can also include your own documentation in plain text above the definition.
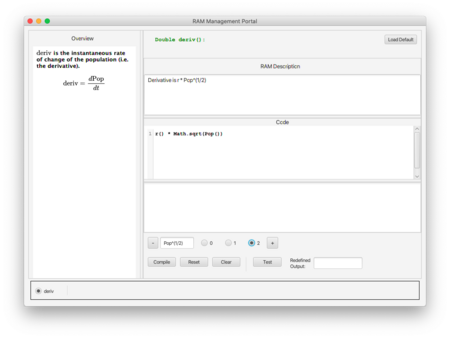
Here is a new RAM that defines the derivative as r * Pop1/2.
When you are ready to proceed, close the RAM portal. The RAM selection dashboard uses a spinner to select the RAM to be used in the next run. It also shows the keyword associated with the RAM and its status (red for uncompiled, green for compiled.) Never run a model showing a red RAM in the dashboard.[1] Clicking the Reset button will attempt to compile the RAM. If the dashboard entry remains red, then the RAM contains errors and should be fixed.
Scripting
- Open the Scripting Portal using the button S On/Off. It contains the following script:
- ↑ Running a non-compilable RAM will cause the model to automatically shift to the default definition, after a warning.
