Difference between revisions of "Running Your Model"
| (16 intermediate revisions by the same user not shown) | |||
| Line 1: | Line 1: | ||
This section describes how you run a model built with Numerus's visual interface. It also describes several useful run-time features. | This section describes how you run a model built with Numerus's visual interface. It also describes several useful run-time features. | ||
=Clock Settings= | ==Clock Settings== | ||
Once you have built a model but before you can run it as a simulation, you must first set the clock parameters. | Once you have built a model but before you can run it as a simulation, you must first set the clock parameters. | ||
The clock settings consist of the following 4 parameters: | The clock settings consist of the following 4 parameters: | ||
| Line 22: | Line 22: | ||
:This is not actually an integration method; rather it sets '''Dt''' to 1 and uses the Euler method. The result is a sequence of State values rather than an attempt to approximate a continuous function. | :This is not actually an integration method; rather it sets '''Dt''' to 1 and uses the Euler method. The result is a sequence of State values rather than an attempt to approximate a continuous function. | ||
</blockquote> | </blockquote> | ||
=Launching The Simulation= | ==Launching The Simulation== | ||
Once you have finished specifying the runtime parameters click the '''Launch''' button to produce the runtime canvas. This will either appear in a separate frame or as a new panel, depending on the mode choice made in [[Preferences]]. | Once you have finished specifying the runtime parameters click the '''Launch''' button to produce the runtime canvas. This will either appear in a separate frame or as a new panel, depending on the mode choice made in [[Preferences]]. | ||
<gallery mode="packed"> | <gallery mode="packed"> | ||
| Line 30: | Line 30: | ||
<br clear="all"> | <br clear="all"> | ||
=Runtime Controls and Displays= | ===Runtime Controls and Displays=== | ||
The runtime frame comes with its own set of controls and displays. Let’s break it down and see what they do. | The runtime frame comes with its own set of controls and displays. Let’s break it down and see what they do. | ||
==Buttons== | ====Buttons==== | ||
:;Reload | :;Reload | ||
:: This button reloads the NumerusScript program. It is equivalent to the '''Launch''' button on the main frame. | :: This button reloads the NumerusScript program. It is equivalent to the '''Launch''' button on the main frame. | ||
| Line 45: | Line 45: | ||
:;Step | :;Step | ||
:: Executes a single time-step of length Dt. | :: Executes a single time-step of length Dt. | ||
==Simulation Controls== | ====Simulation Controls==== | ||
The runtime frame also includes a set of simulation controls (Start, End, Dt and Method) for ''temporary'' changes to the runtime environment. ''These will not be stored as part of your model and will revert to model frame settings upon reload''. | The runtime frame also includes a set of simulation controls (Start, End, Dt and Method) for ''temporary'' changes to the runtime environment. ''These will not be stored as part of your model and will revert to model frame settings upon reload''. | ||
==Other Controls and Displays== | |||
====Other Controls and Displays==== | |||
:;Current | :;Current | ||
::Shows the current model time. | ::Shows the current model time. | ||
| Line 57: | Line 58: | ||
::These features are discussed [[#AutoMode Feature|below]]. | ::These features are discussed [[#AutoMode Feature|below]]. | ||
=Runtime Canvas= | ===Runtime Canvas=== | ||
The canvas is divided into two sections containing, respectively, controls and displays specified in the model. The top section contains slider, spinner and toggle controls. The bottom contains graphs, tables and other displays. The controls cannot be rearranged, however the displays are moveable and resizable. | The canvas is divided into two sections containing, respectively, controls and displays specified in the model. The top section contains slider, spinner and toggle controls. The bottom contains graphs, tables and other displays. The controls cannot be rearranged, however the displays are moveable and resizable. | ||
| Line 63: | Line 64: | ||
</big> | </big> | ||
=AutoMode Feature= | ===AutoMode Feature=== | ||
When AutoMode is selected, you can adjust values in the model, and see the changes instantaneously in the output, without having to click any buttons to rerun the model. | When AutoMode is selected, you can adjust values in the model, and see the changes instantaneously in the output, without having to click any buttons to rerun the model. | ||
You can select AutoMode after you have loaded or run the model. Then you can use sliders to adjust parameter values and see instantaneous results. | You can select AutoMode after you have loaded or run the model. Then you can use sliders to adjust parameter values and see instantaneous results. | ||
[[File:automode.gif|Demo of AutoMode Feature]] | [[File:automode.gif|frame|left|Demo of AutoMode Feature]] | ||
<br clear="all"> | |||
===Debug Feature=== | |||
Debug mode shows you how the values of individual components change numerically during the running of the model. | |||
<big>Debug mode is most effective when the '''Speed''' slider is used to reduce the simulation speed. | |||
</big> | |||
[[File:debugmode.gif|frame|left|Demo of Debug Feature]] | |||
<br sides="all"> | |||
Latest revision as of 19:45, 12 March 2018
This section describes how you run a model built with Numerus's visual interface. It also describes several useful run-time features.
Clock Settings
Once you have built a model but before you can run it as a simulation, you must first set the clock parameters. The clock settings consist of the following 4 parameters:
- Start The time (in model time) when the simulation starts (this is usually 0).
- End The time (in model time) when the simulation ends.
- Dt The unit of increment (in model time) for updates.
- Integration Method The mathematical algorithm used to update Stocks.
Numerus currently uses an abstract unit of time ("model time") that serves as the equivalent of some model-dependent real time unit (seconds, minutes, hours, days, years). You can specify a time unit in the Unit text field.
Dt, the increment, or "delta t", value, is the amount of time that elapses between State updates. For discrete models this is fixed at 1 (see below), but can be any value otherwise (0.1, 0.01, 0.05, 2, 20).
Numerus supports 3 different integration methods
- Euler
- Current state values are used in computations to determine the next state. Used for all discrete models.
- RK2, RK4
- These Runge-Kutta algorithms treat Stocks and Variables as continuous functions and reduce the error by subdividing the update interval. Simulations run slower but with more accuracy. RK4 is the preferred option of the two.
- Discrete
- This is not actually an integration method; rather it sets Dt to 1 and uses the Euler method. The result is a sequence of State values rather than an attempt to approximate a continuous function.
Launching The Simulation
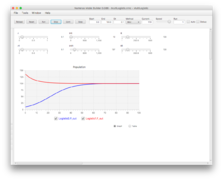
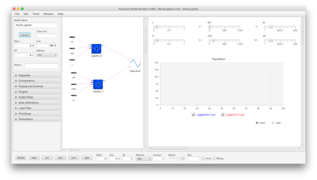
Once you have finished specifying the runtime parameters click the Launch button to produce the runtime canvas. This will either appear in a separate frame or as a new panel, depending on the mode choice made in Preferences.
Runtime Controls and Displays
The runtime frame comes with its own set of controls and displays. Let’s break it down and see what they do.
Buttons
- Reload
- This button reloads the NumerusScript program. It is equivalent to the Launch button on the main frame.
- Reset
- Returns the simulation to its initial state.
- Run
- Executes the model from its initial state.
- Stop
- Halts execution at the current point in model time.
- Cont
- Continues execution from the current state after a Stop.
- Step
- Executes a single time-step of length Dt.
Simulation Controls
The runtime frame also includes a set of simulation controls (Start, End, Dt and Method) for temporary changes to the runtime environment. These will not be stored as part of your model and will revert to model frame settings upon reload.
Other Controls and Displays
- Current
- Shows the current model time.
- Run
- Shows the number of times the simulation has been executed.
- Speed
- This slider lets you adjust the speed of the simulation.
- Auto and Debug
- These features are discussed below.
Runtime Canvas
The canvas is divided into two sections containing, respectively, controls and displays specified in the model. The top section contains slider, spinner and toggle controls. The bottom contains graphs, tables and other displays. The controls cannot be rearranged, however the displays are moveable and resizable.
Occasionally new displays will appear over old ones. Rearrange and resize the displays to suit your needs, then save the model. Subsequent launches will remember the changes you make.
AutoMode Feature
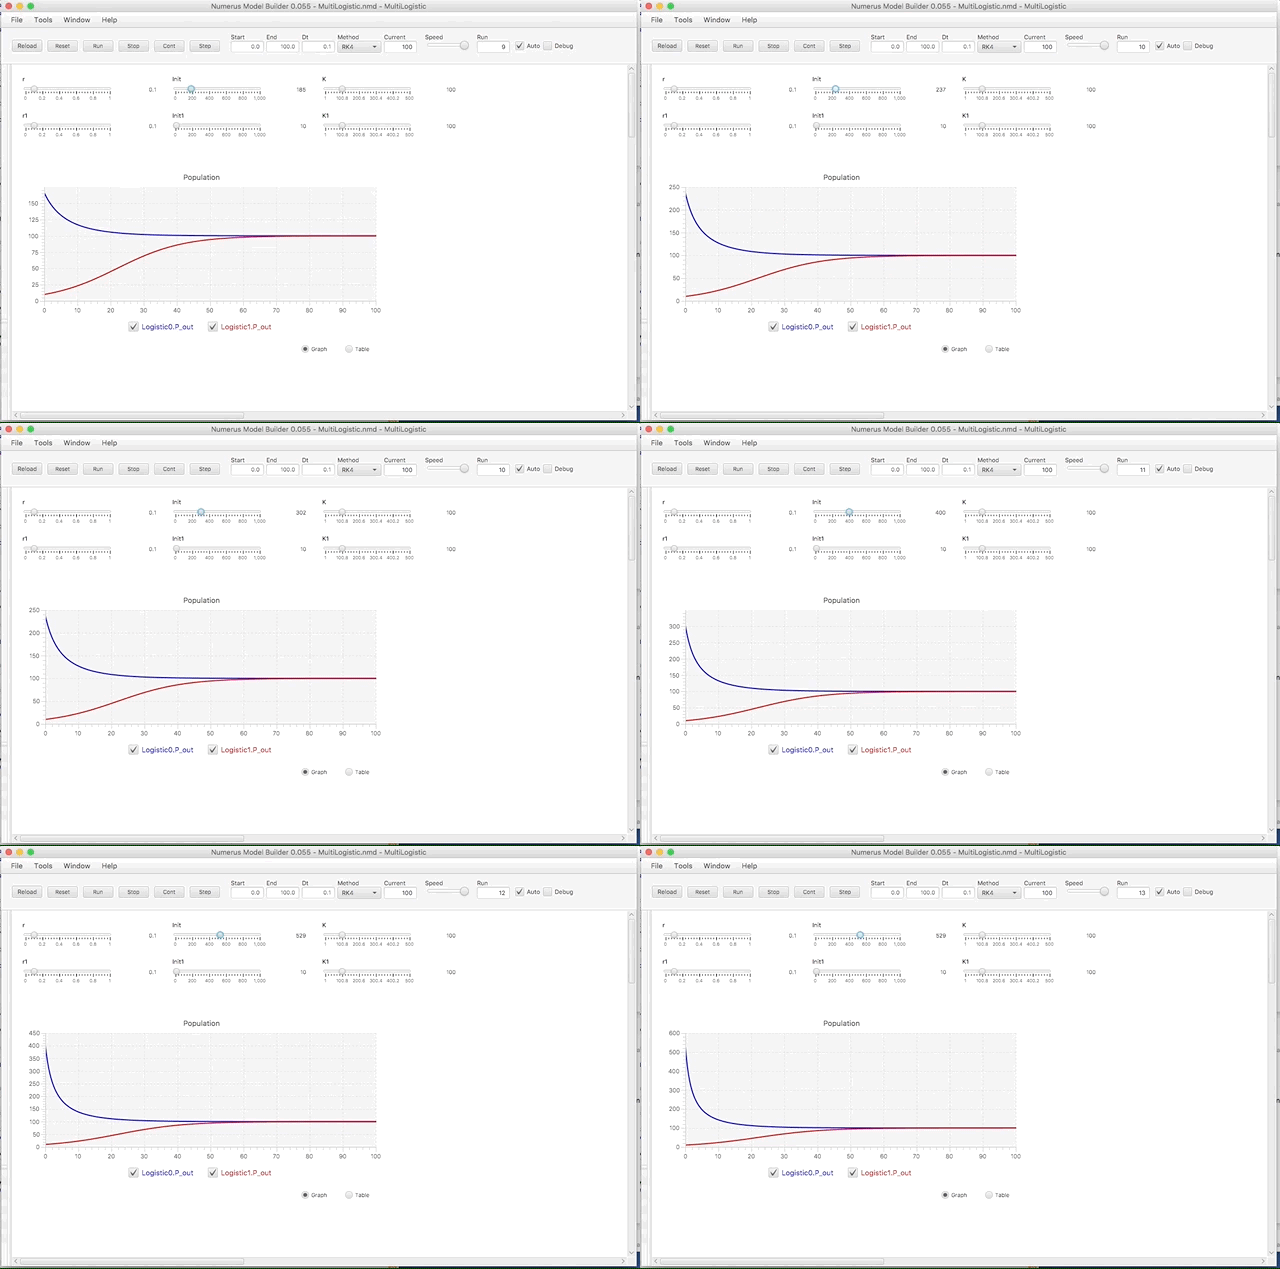
When AutoMode is selected, you can adjust values in the model, and see the changes instantaneously in the output, without having to click any buttons to rerun the model.
You can select AutoMode after you have loaded or run the model. Then you can use sliders to adjust parameter values and see instantaneous results.
Debug Feature
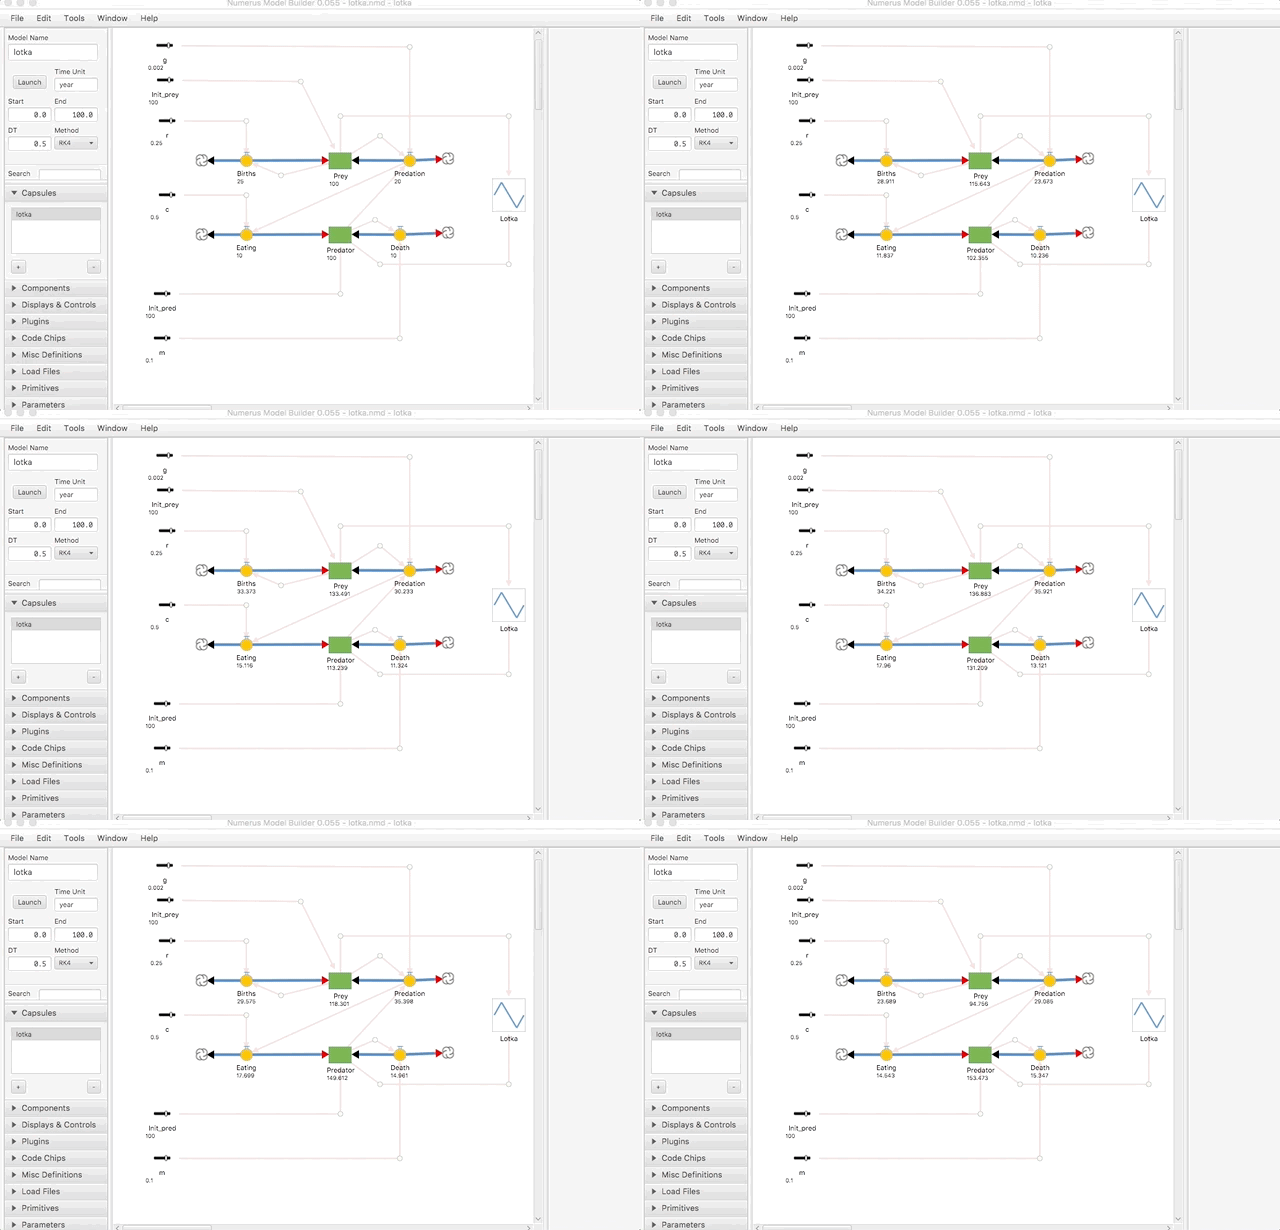
Debug mode shows you how the values of individual components change numerically during the running of the model.
Debug mode is most effective when the Speed slider is used to reduce the simulation speed.


