Modeling Actions
Jump to navigation
Jump to search
This section summarizes all of the commands and gestures used to build a model in the Design Frame.
Creating and Naming a New Project
- Click File | New in the Menu. This will create a new project with an untitled main capsule
- Enter the Capsule's name in the 'Model Name' text area.
- Save the project using File | Save As
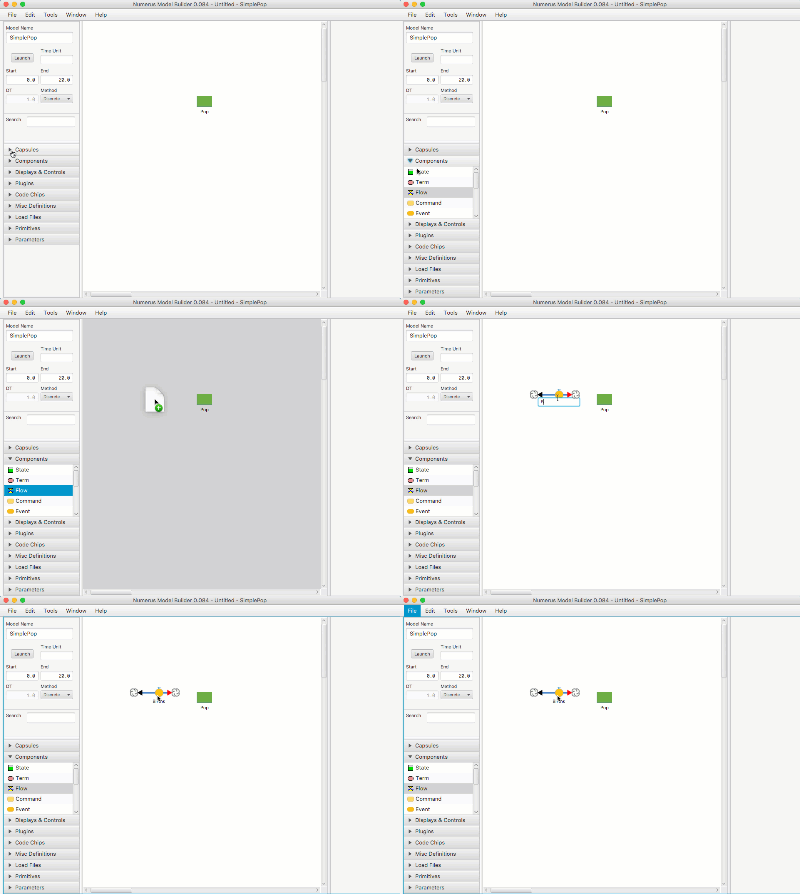
Add a Component, Display or Control
- Open the Components (or Displays & Controls) design tab.
- Select the component by pressing on the mouse.
- Drag the component to the Model Canvas.
- Name the component (or hit return; you can rename it later).
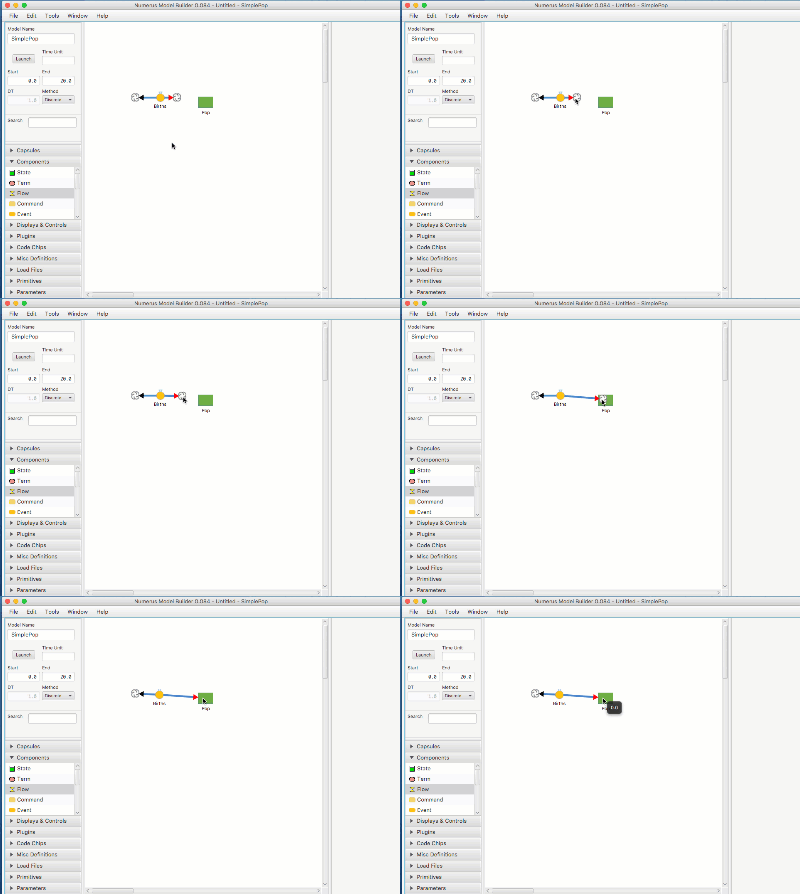
Connect Flow to Stock
- Drag the cloud from the Flow connector over the Stock.
- You can delete the connection using the Flow property pane.
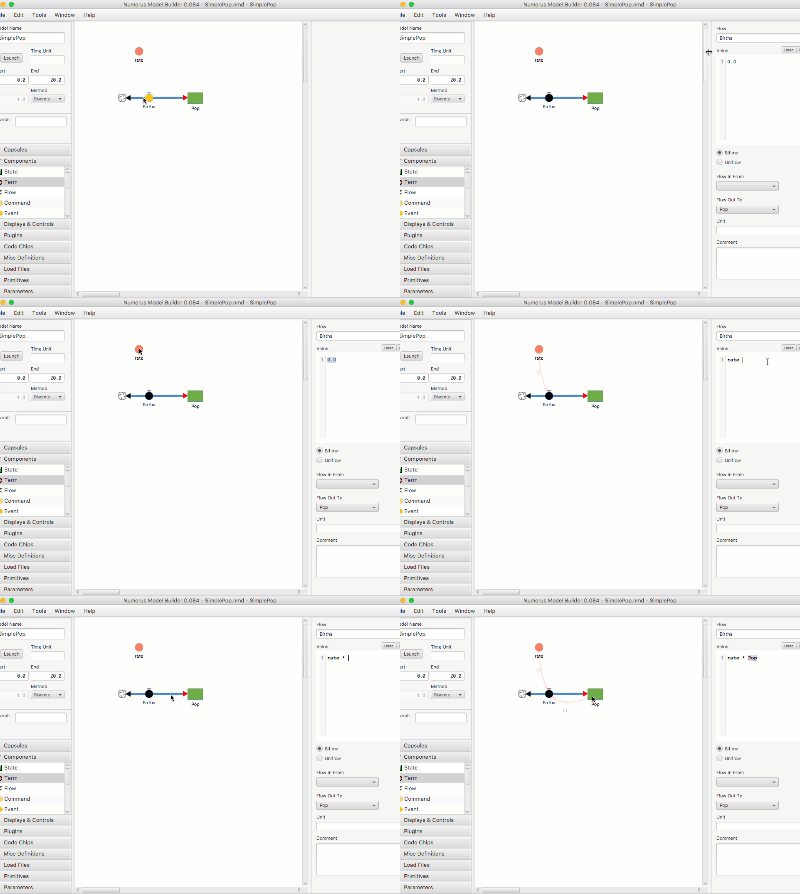
Connect Term and Stock to Flow By Programming
- Click on Flow to reveal its Properties Pane
- Click on the 'Value' label to select all of the text in the Program Text Area.
- Right-click on Term -- its name will appear at the cursor in the Flow Program Text Area (or type the name at the cursor). A connector from Term to Flow will appear.
- Continue by right-clicking (or typing) to insert Stock name into Text Area and create connector from Stock to Flow


